
Last updated November 20, 2026
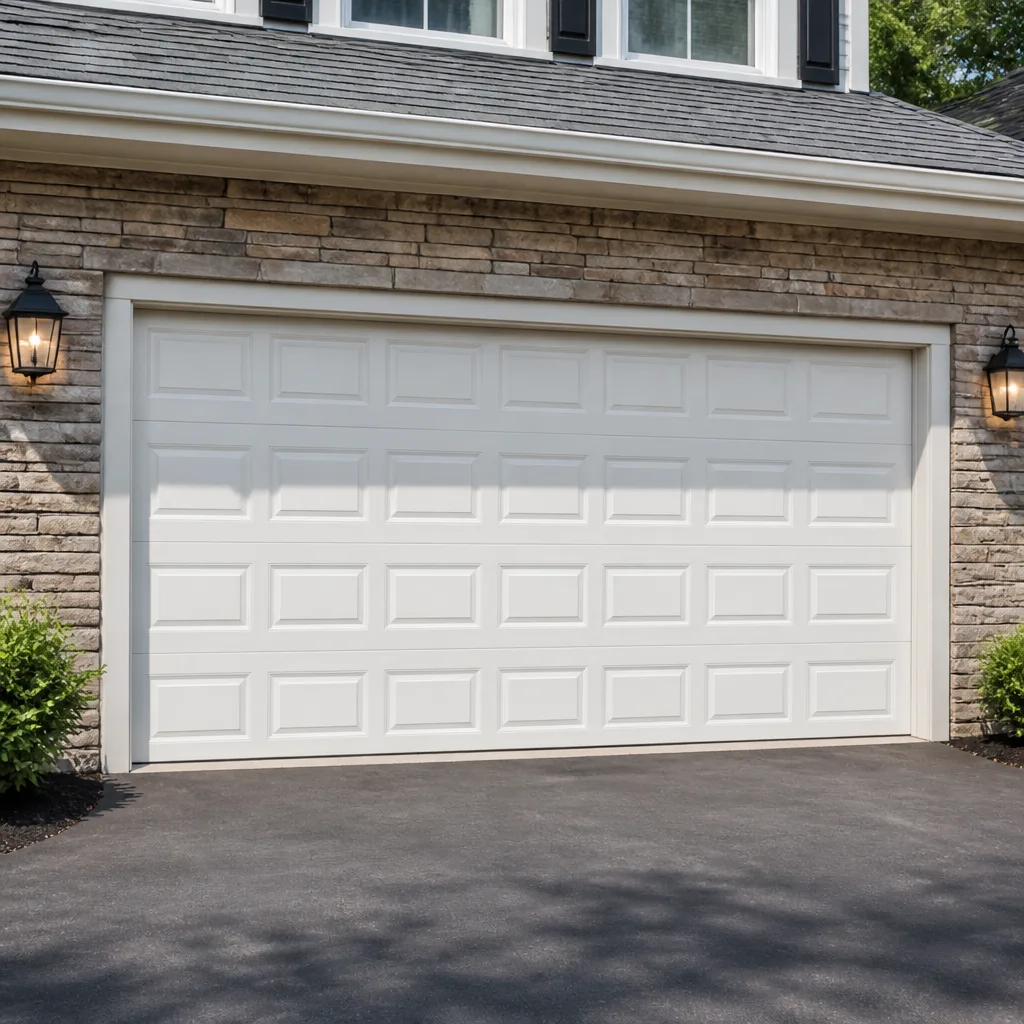 Raised-panel steel
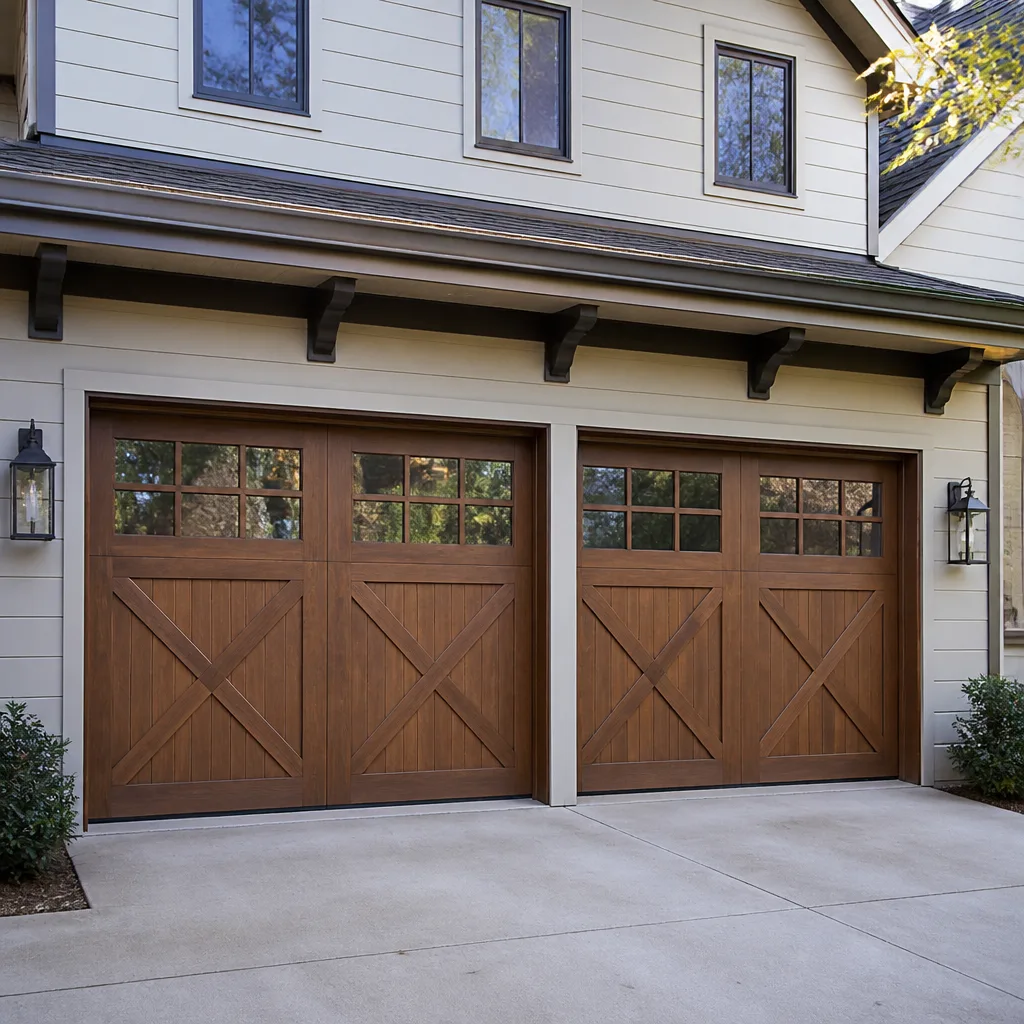 Carriage house
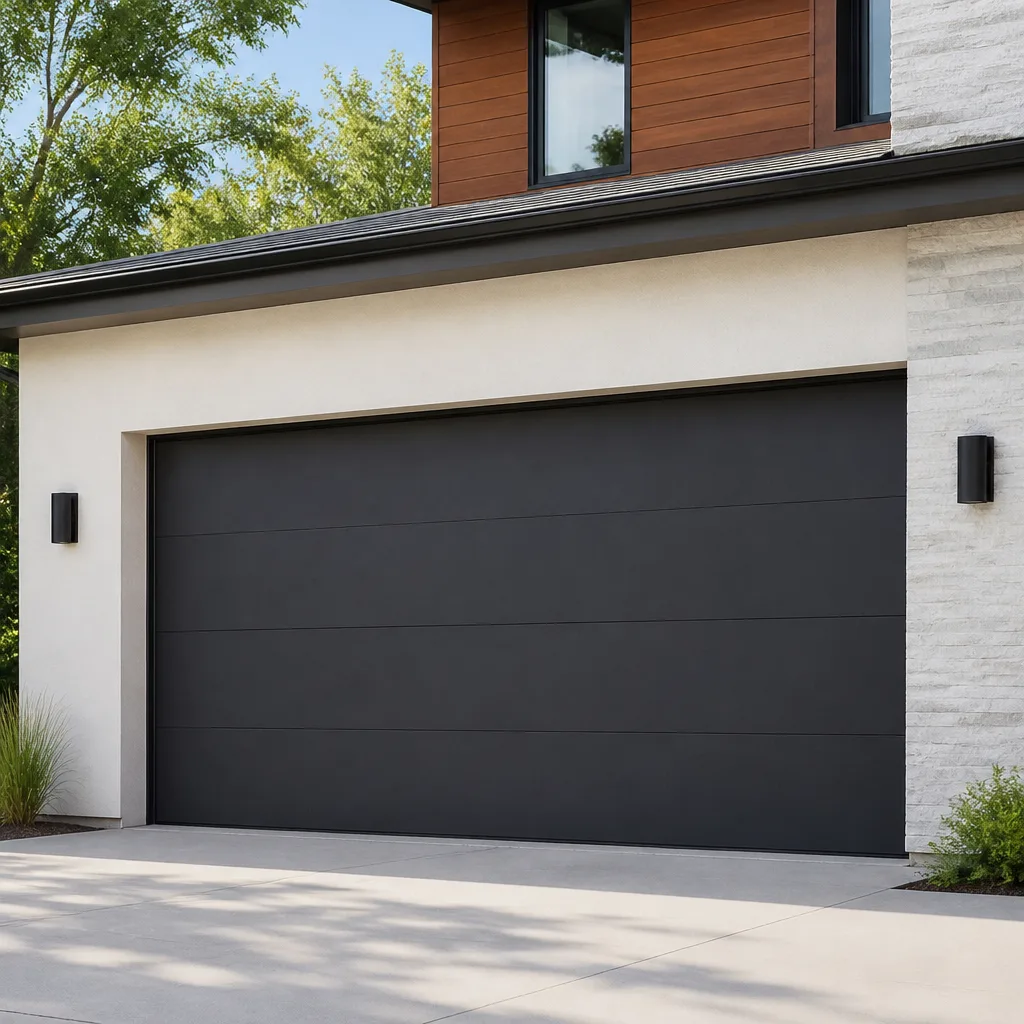 Modern flush
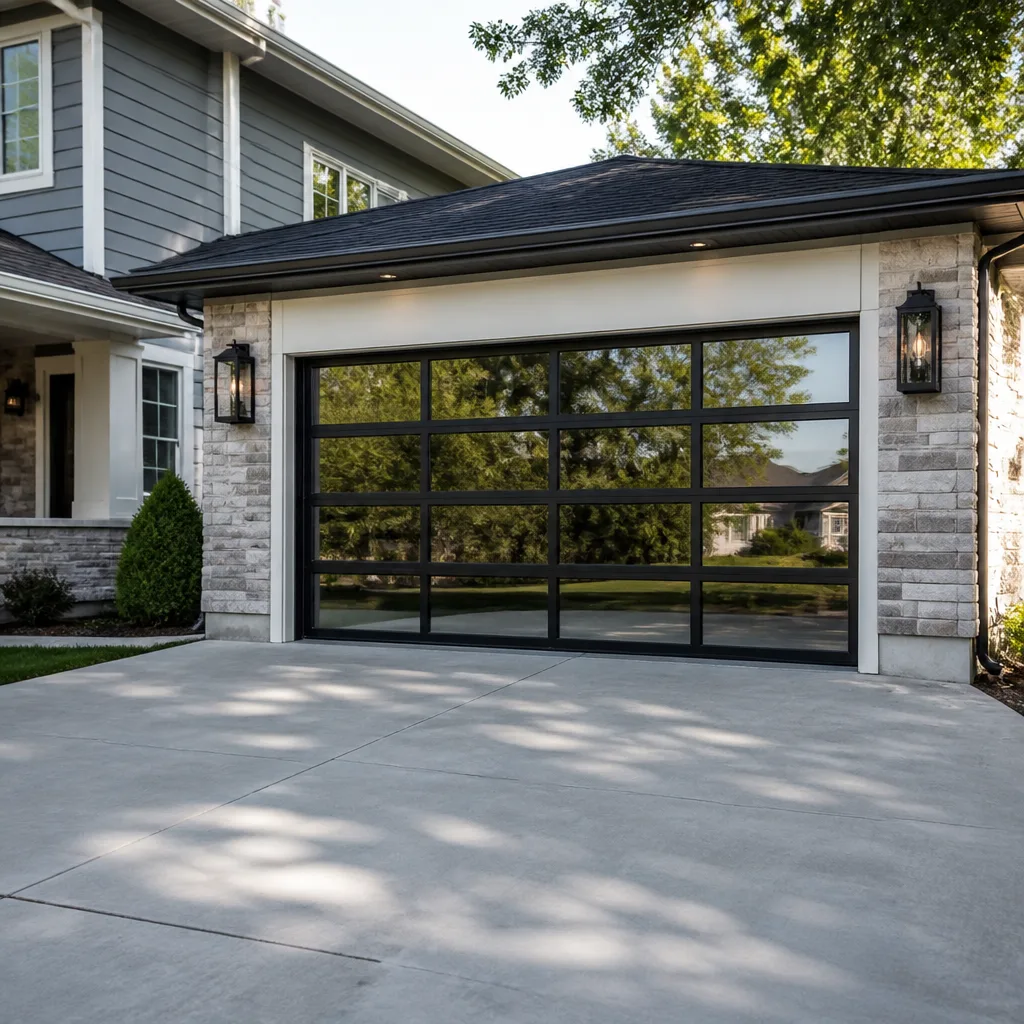 Full-view glass
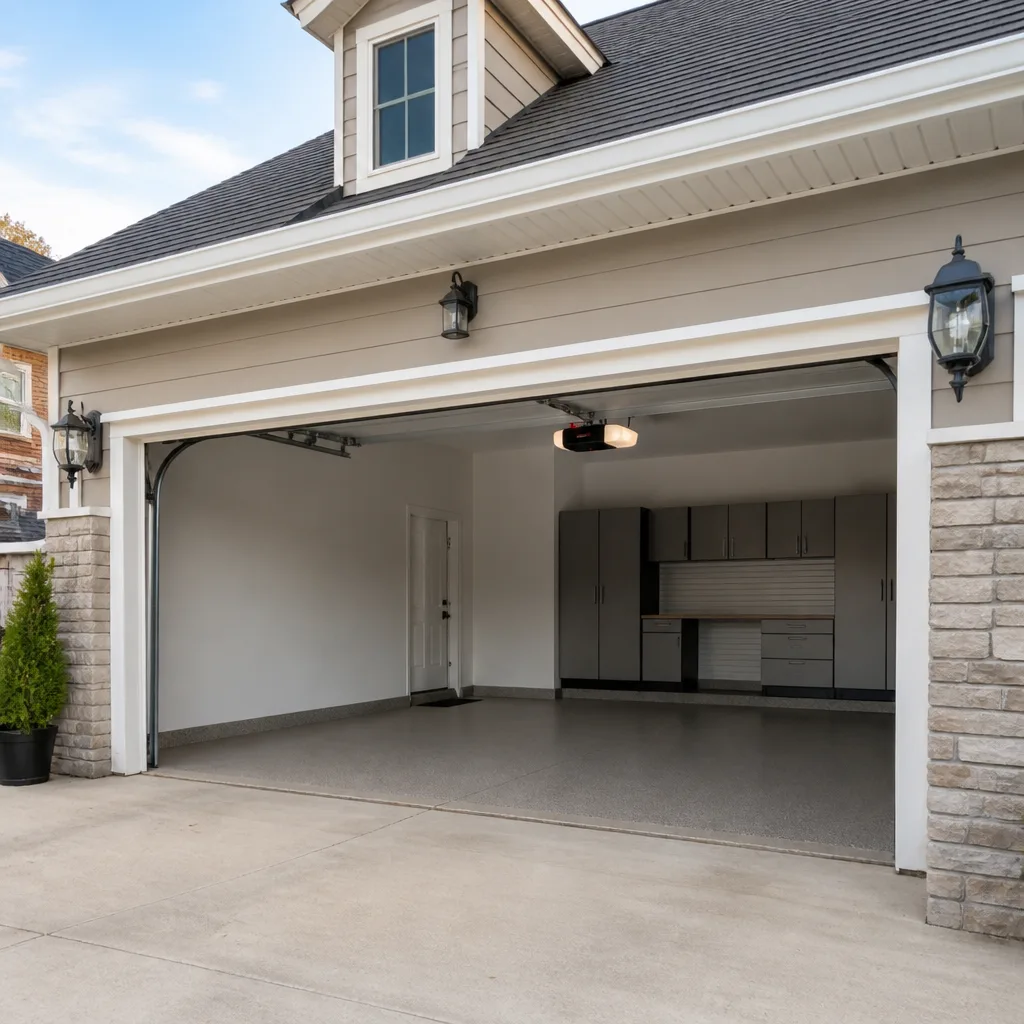 LiftMaster openers
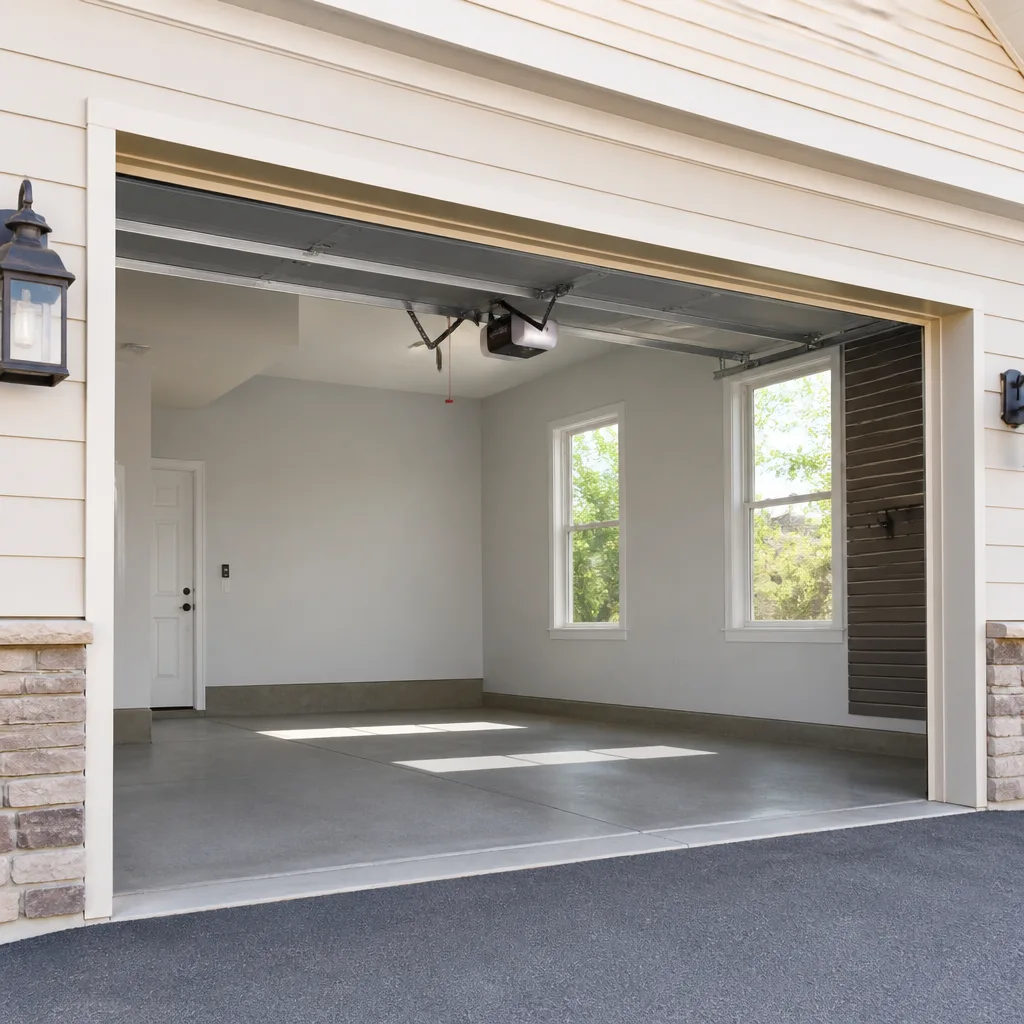 Chamberlain openers
Full 25-point door and opener safety check with every visit - springs, cables, rollers, tracks, and your LiftMaster or Chamberlain opener included
You get a price before we start. It does not change when the pro arrives.
Get your free estimateDIY vs Professional Garage Door: The Bridgeport Homeowner’s Decision Guide
Most garage door repairs look like a skill problem. They’re not. They’re a risk problem. A roller swap and a sensor alignment are genuinely within reach for a careful homeowner with a wrench and an afternoon. A torsion spring is a different category of object entirely – it holds enough stored energy to break bones when it lets go, and the internet is full of walkthroughs that skip past what “going wrong” actually looks like. We’re a garage door company in Bridgeport, so we have a clear interest in this conversation, and we’ll say so. But the honest line between “do it yourself” and “call someone” is narrower than DIY forums suggest and wider than some contractors admit. This guide draws it task by task, explains the physics behind the spring category, and gives you the real cost math for both directions.
Quick Answer
In Bridgeport, DIY is a reasonable choice for weatherstripping, lubrication, sensor alignment, remote programming, and minor cosmetic panel work. Anything involving torsion springs, cables, the opener’s motor or rail assembly, or a door that has come off its track requires a trained professional. The dividing line isn’t confidence or mechanical talent – it’s whether a mistake can injure someone or drop a door.
Styles & brands we work with
- Raised-panel steel
- Carriage house
- Modern flush
- Full-view glass
- LiftMaster openers
- Chamberlain openers
Table of Contents
- What Can You Safely Fix Yourself?
- Why Torsion Springs Are a Different Risk Category
- The Honest Cost Comparison
- Sourcing the Right Parts for Your Door
- What a Good Service Call Includes That DIY Can’t
- Bridgeport Climate, Housing Stock, and Your Door
- Common Mistakes to Avoid
- When to Call a Professional
What Can You Safely Fix Yourself?
Start here: about a third of the service calls we’re asked to quote across Bridgeport are jobs a homeowner could have handled in twenty minutes. Knowing which ones keeps money in your pocket and keeps you off a ladder you didn’t need to climb.
Tasks a homeowner can reasonably handle
- Weatherstripping replacement. The rubber gasket along the bottom of the door and the trim seal around the frame wear out from freeze-thaw cycles and simply pull free or crack. Slide out the old strip, slide in the new one, close the door, check for daylight gaps.
- Safety sensor alignment. The two small photo-eye units near the floor need to face each other within a narrow band. Loosen the wing nut, aim, tighten. If the opener’s light blinks when you close the door, this is almost always the cause.
- Lubrication. Rollers, hinges, the torsion bar bearings, and the opener’s rail benefit from a garage-door-rated lubricant a couple of times a year. Never use standard WD-40 as a lubricant on the moving parts; it attracts grit.
- Remote and keypad programming. Clearing and re-pairing a remote on a LiftMaster or Chamberlain unit is a documented button sequence. Manufacturers publish it and it doesn’t touch the door’s mechanics.
- Minor panel taps and cosmetic dents. A shallow dent on a steel panel can sometimes be worked out from behind with a padded block. Cosmetic only; never a structural panel with a crease through it.
- Track debris clearing. Dust, gravel, and leaf litter accumulate in the track channel, especially on doors facing a driveway. A vacuum and a damp rag fix binding that isn’t a bend.
Notice what’s absent from that list: springs, cables, brackets, and the opener’s internal drive. That’s deliberate. On a garage door, those components operate under continuous load, and the moment a homeowner releases that load incorrectly, the door stops being a door and becomes a falling object. For a hands-on walkthrough of the mechanical side, see our page on garage door repair.
Why Torsion Springs Are a Different Risk Category
A torsion spring is a coil of steel that has been wound under tension to counterbalance the door’s weight – often two to three hundred pounds of it. When the door is down, the spring is charged. It stays charged all day, every day, with the entire weight of the door resting against it. That stored energy is what makes the door lift with one hand.
It’s also why spring work fails differently than any other garage door task. A stripped hinge bolt slips. A misaligned sensor just blinks. A torsion spring that’s improperly released or improperly wound can throw its winding bar with enough force to break a wrist or worse, and the door can drop without warning. This is physics, not a disclaimer someone added to a brochure.
What “going wrong” actually looks like
- The spring snaps while the winding bars are in the cone, and the bars spin free at high speed.
- The door drops because the counterbalance was removed before the door was secured.
- The cables unspool and whip through the frame because the tension was released on one side first.
- A spring rated for the wrong door weight fails within weeks, and the failure happens under load.
What most DIY guides skip is that torsion springs come in matched pairs with specific wire gauges and inside diameters, calibrated to your door’s weight and height. Getting the gauge right by eyeballing it is a coin flip. Getting the winding turns right is a calculation. Getting the release sequence right is a skill. Our dedicated garage door spring repair service exists precisely because this is one job where a mistake has consequences a homeowner doesn’t get to walk back.
Our straightforward advice: if the spring is the problem, don’t learn on your own door. Call a professional. The savings on a DIY spring replacement are small compared with the joint on your hand that dislocates if the winding bar lets go.
The Honest Cost Comparison
A quick caveat before the numbers: garage door pricing in Bridgeport varies by door size, spring type, and what the technician finds once the door is up. The figures below are typical estimates, not quotes. A written estimate sets the final price, and it’s the number that matters.
DIY-appropriate tasks: where the savings are real
- Bottom weatherstripping: a replacement strip runs well under $50 at a hardware store, and an hour of your afternoon is the labor. This is a genuine DIY win.
- Sensor alignment: free. Ten minutes and a screwdriver, plus a level to check both units are at the same height.
- Lubrication: a can of door-specific lubricant is a few dollars and covers a full season.
- Remote programming: the manual or a manufacturer’s video is free. A dealer programming fee is not.
Professional-appropriate tasks: where DIY stops making sense
- Torsion spring replacement (one spring): typically $180 to $340 in the Bridgeport market for a single spring. A matched pair is usually replaced together, so a pair costs roughly twice that – call it $360 to $680 as a typical range.
- Opener replacement or motor repair: varies by unit, but the labor alone on a motor or logic board replacement on a LiftMaster or Genie runs well above the cost of a professional visit.
- Cable replacement: a cable that has snapped also means tension is uneven, and the door needs to be rebalanced. A professional call is the cheaper option in every case.
When a botched DIY attempt costs more than the original quote
- The wrong spring gauge breaks a cable or bends a track, and now two repairs are in play.
- The door drops and dents two panels, and now you’re looking at panel replacement on a Clopay or Amarr model that may be discontinued.
- A mis-wound spring forces the opener to work against a heavier door, and the opener’s motor or gear assembly fails ahead of schedule.
- The safety reversal sensor is disabled “just for now” and stays that way.
In our experience, the cost of fixing a mid-attempt spring job is often more than the original professional estimate would have been. That’s the number to weigh, not the DIY price tag.
Sourcing the Right Parts for Your Door
Garage door hardware is not universal, and Bridgeport’s housing stock runs from older two-car doors on Wayne Dalton frames to newer construction with Amarr or Clopay panels. Getting the right part means reading two things: the door’s label and the spring’s markings.
How to identify what you need
- Find the door’s manufacturer tag. It’s usually on the inside face of the bottom panel or the top stile. Note the brand – Clopay, Amarr, Wayne Dalton – and any model number printed there.
- Measure the door. Width and height, and weight if you can estimate it (or check the manufacturer’s spec sheet). Springs are matched to weight, not size alone.
- Read the spring marking. Torsion springs carry a paint stripe or printed information for wire gauge and inside diameter. Photograph it before ordering.
- For openers, get the model number from the motor housing. On a Craftsman or a Genie, that’s usually a label under the light cover or on the back of the unit. A remote or logic board for one model won’t work on another in the same family.
- Match the hardware, not just the color. Hinges come in different gauges. Rollers come in different stem lengths. A $3 hinge with the wrong stem length strips the panel hole.
Where homeowners get burned is buying a “universal” spring or a bargain opener remote that “fits most brands.” Nothing on a modern door is truly universal. This is the difference a multi-brand technician brings – our technicians work on LiftMaster, Chamberlain, Genie, Clopay, Amarr, Wayne Dalton, Craftsman, and Raynor systems, which means they diagnose the correct part from the correct spec sheet without trial-and-error part orders. If you’ve got an obscure model, we’ll usually know its specs before we arrive.
What a Good Service Call Includes That DIY Can’t
Here’s a distinction that gets lost in the DIY vs. professional debate. A proper service call is not just “someone else turns the wrench.” It’s a set of measurements and tests that require calibration equipment and knowledge most homeowners don’t have and shouldn’t need to buy.
What a good pro does that you can’t replicate at home
- Door balance testing. Disconnect the opener, lift the door halfway, and see if it stays put. A properly balanced door holds. A door that drifts shut or flies open has a spring problem, and the pro catches it before it becomes a cable break.
- Torque and fastener settings. Hinge screws on a garage door need specific torque. Under-torqued and the panel vibrates; over-torqued and the screw strips the hole. A pro knows which and uses a driver set to match.
- Safety reversal testing. The opener must reverse within spec when it meets an obstruction. A pro literally puts a block in the door’s path and confirms the reversal. A homeowner testing “by hand” doesn’t get the same result.
- Photo-eye diagnostics. On some openers, the sensor alignment is fine but the photo-eye’s power supply has dropped below spec. That’s an electrical test, not a wrench test.
- Force-adjustment. Older openers had an adjustable sensitivity dial. Setting it too loose and the door injures a pet or child; too tight and the door refuses to close on a cold day. A pro sets it correctly.
- Spring calibration. Correct wire gauge, correct winding turns, correct oil-tempered versus galvanized steel for the door’s weight. This is the primary reason a spring job is a pro job.
These aren’t upsells. They’re the difference between “the door works again” and “the door is safe and correctly specced.” Our garage door opener repair work always includes the full reversal test, because a door that opens is not the same as a door that stops when it should.
Bridgeport Climate, Housing Stock, and Your Door
Bridgeport’s weather matters here. The freeze-thaw cycle from late fall through early spring works on weatherstripping, hinges, and the door’s steel frame in ways that homeowners in milder climates don’t see. Every year we hear about doors that “worked fine in October” and won’t seal in January. That’s not a defect. That’s weather.
Local factors that shape the DIY vs. pro decision
- Freeze-thaw stress on seals and trim. The bottom seal hardens in cold and splits. Hinges stiffen. Weatherstripping that pulled loose in the fall becomes a visible daylight gap by February. This is a good DIY check each season.
- Snow loads and shoveling. Accumulated snow against a door and a shovel strike are two of the more common causes of bent bottom panels. A bent panel is a professional assessment, not a homeowner fix, because it changes the door’s weight balance.
- Older homes near the Hollow and along East Main. Mixed-age housing stock means mixed-age doors – some on Wayne Dalton frames from twenty years ago, some on modern Amarr and Clopay installations. Parts availability differs by decade. A pro knows what’s still in production.
- Summer heat on seals and lubricant. The same gasket that cracked in winter softens in July. Lubricant that wasn’t rated for high temperature dries and leaves the rollers squeaking by August.
- Driveway-facing doors on the North End and Black Rock. Doors facing a long driveway collect grit and leaf litter in the track channel. Cleaning it is DIY; diagnosing why the door still binds after cleaning is not.
None of these are emergencies in themselves – but they explain why a door that feels fine in one season feels different in another, and why “call a pro for a seasonal check” is not a scam. It’s a maintenance rhythm that fits this part of Connecticut.
Common Mistakes to Avoid
- Disconnecting the opener and forgetting to reconnect it before testing. Two minutes of confusion, sometimes a bent rail. Always reconnect before you close the door under power.
- Using WD-40 as a lubricant instead of a penetrant. It frees a stuck part once, then attracts grit that makes the part sticky in a month. Use a door-rated lubricant; the label will say so.
- Adjusting the opener’s force dial to fix a binding door. If the door binds, the problem is the door, not the opener. Increasing force to overcome it is the single most common cause of opener gear failure we see in Bridgeport.
- Buying a “universal” torsion spring. Springs are weighted to the door. A spring that’s too light or too heavy either lets the door sag or puts extra load on the opener. There is no universal fit.
- Resetting the opener’s travel limits without testing the reversal. A door that closes a half-inch too low cracks the bottom seal; too high, and the sensors can’t see under it. Always test the reversal after adjusting travel.
- Ignoring a single cable fray. A frayed cable means tension has shifted and the door is now sitting unevenly. The next thing to fail is the other cable, and then the door drops.
- Working alone on a ladder near a live spring. Even the pros work in pairs on a spring job. A homeowner working alone is the exact scenario where a small slip becomes a serious injury.
When to Call a Professional
Call a professional immediately if the door has come off its track, if a cable has visibly snapped or frayed, if the spring is broken (you’ll often hear a loud bang and find the door suddenly very heavy), if the door won’t close and the opener light blinks or flashes an error sequence, or if the door drops faster than it should on the way down. These are not “sleep on it” problems – they’re the door telling you it has lost its counterbalance or its safety system.
Call for a quote too if the door is over ten years old and suddenly feels heavier or noisier. That’s a spring losing tension, and the fix is less expensive than the aftermath of a cable break. Bridgeport Garage Door Repair Pros offers free estimates in Bridgeport – call (844) 647-0405. We answer 24/7. Fast dispatch from 7am to 7pm, Sunday through Friday. The price is quoted and agreed before any work starts, and the written estimate sets the final number – no surprises on the invoice.
Our technicians have up to 11 years of experience, work on every major brand including LiftMaster, Chamberlain, Genie, Clopay, Amarr, Wayne Dalton, Craftsman, and Raynor, and can handle the entire job – springs, cables, opener, and door – in a single visit. You won’t be redirected to a different contractor at any stage.
See the difference
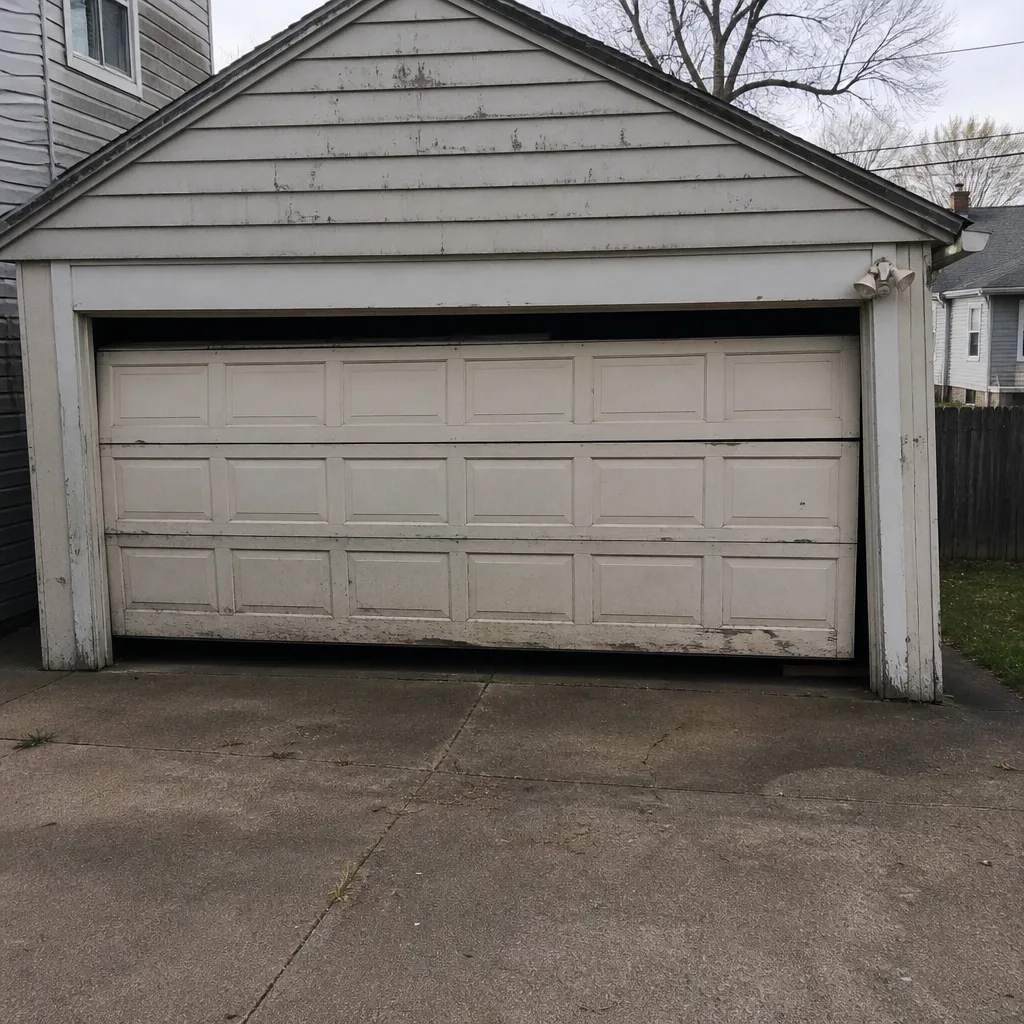 Before
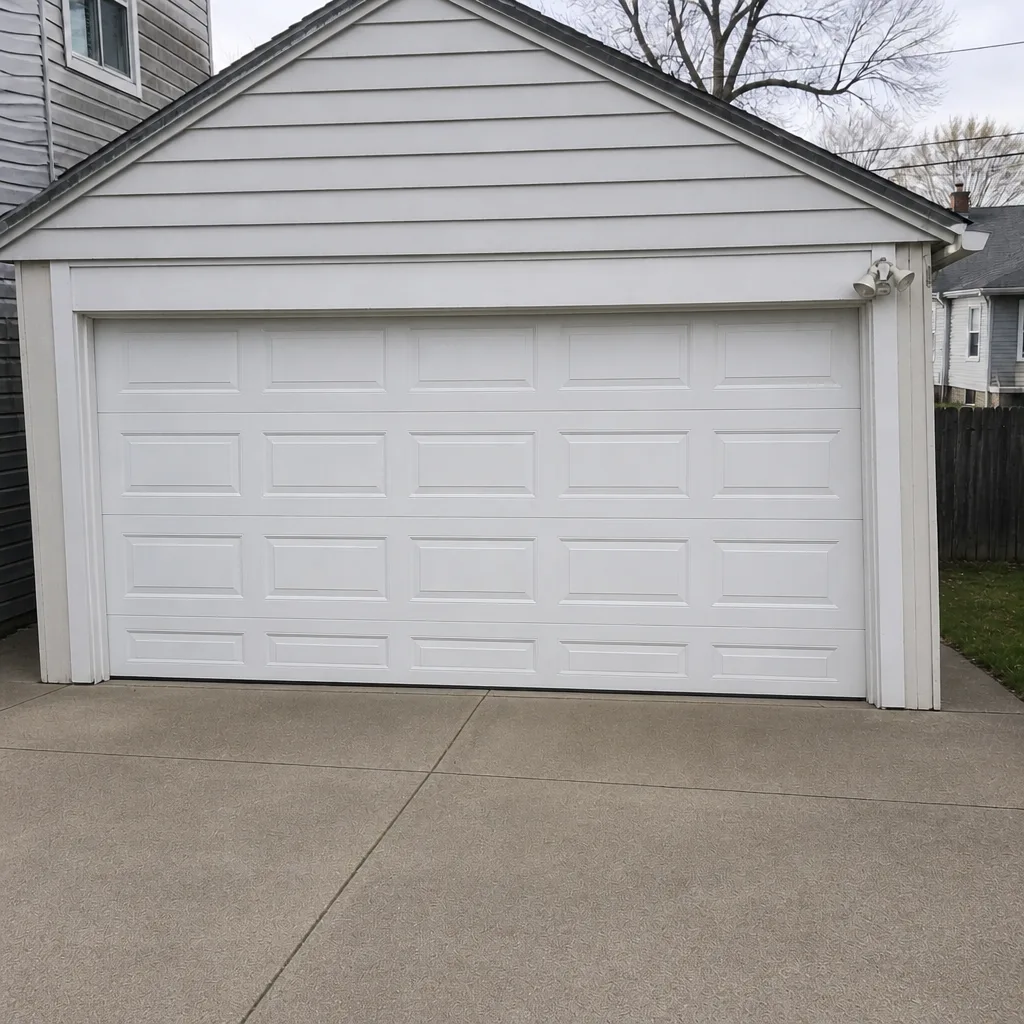 After
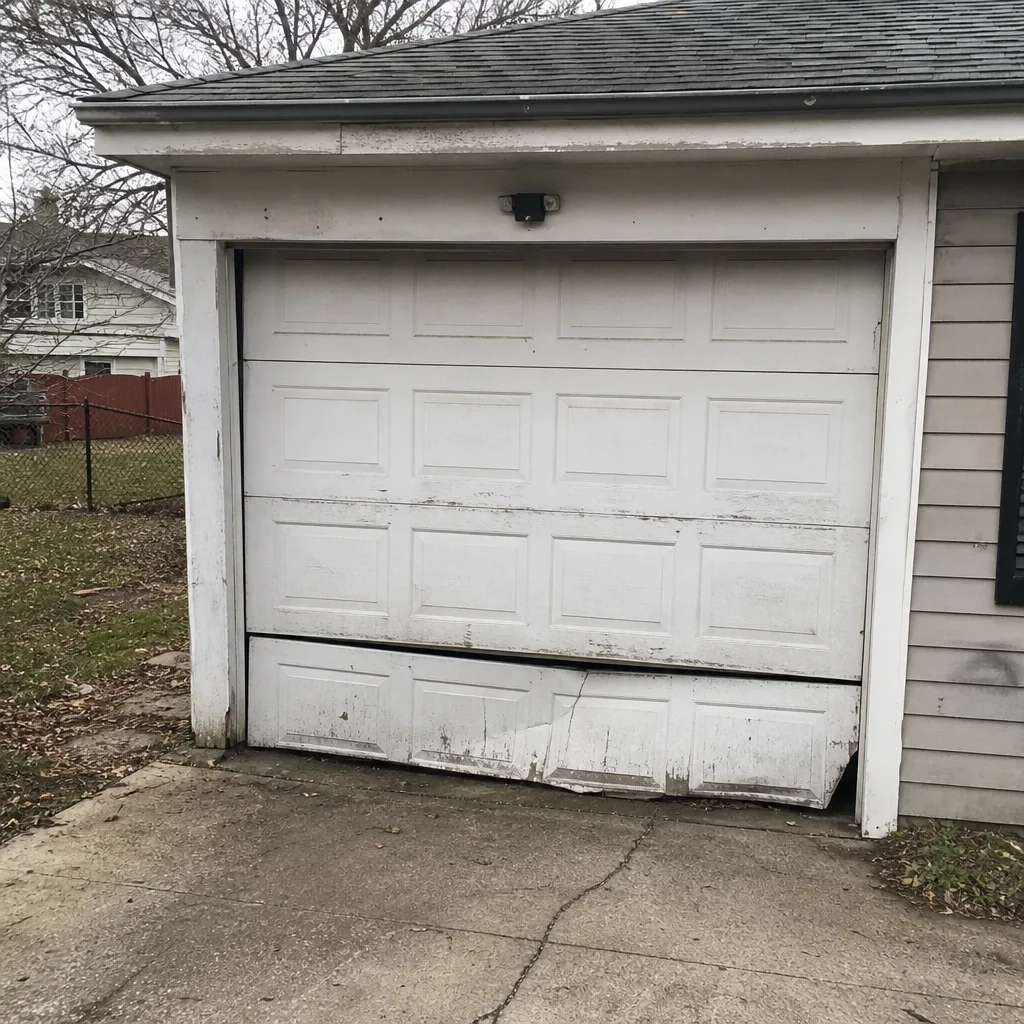 Before
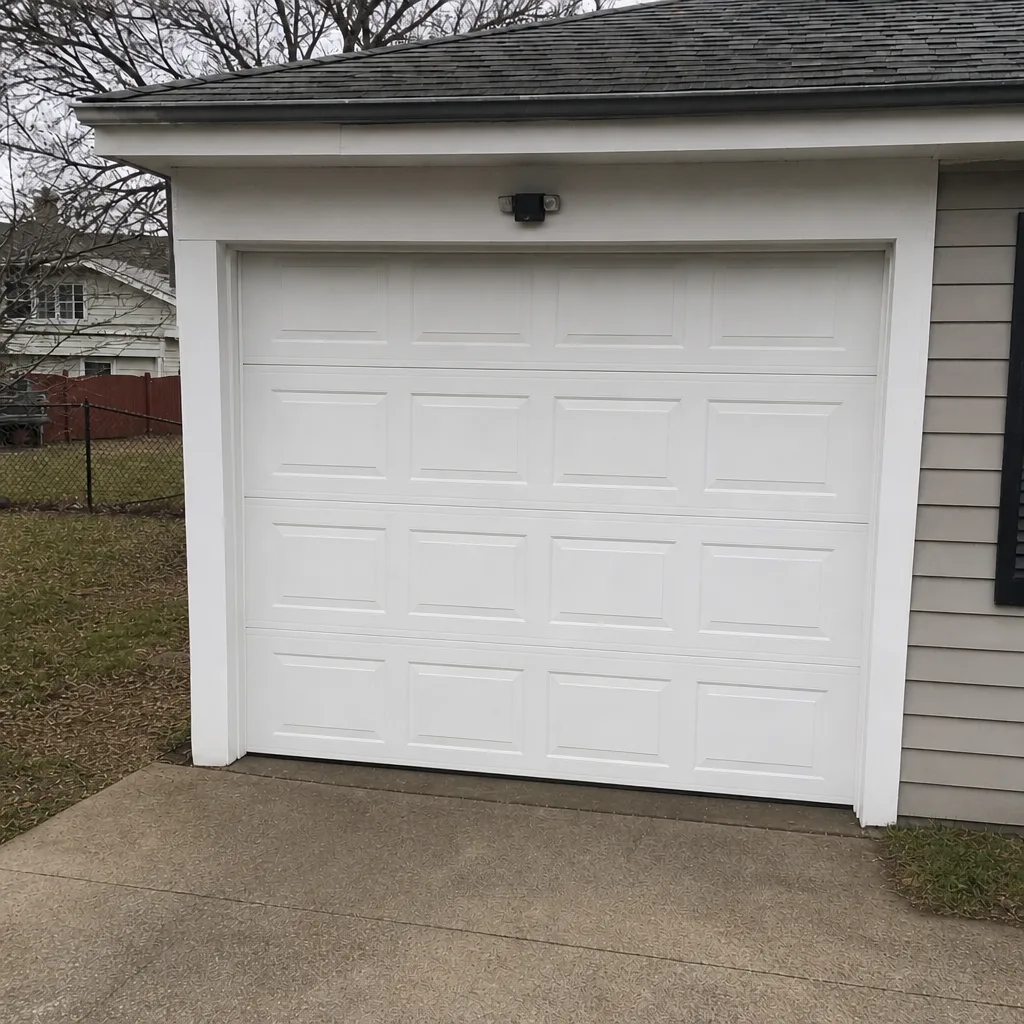 After
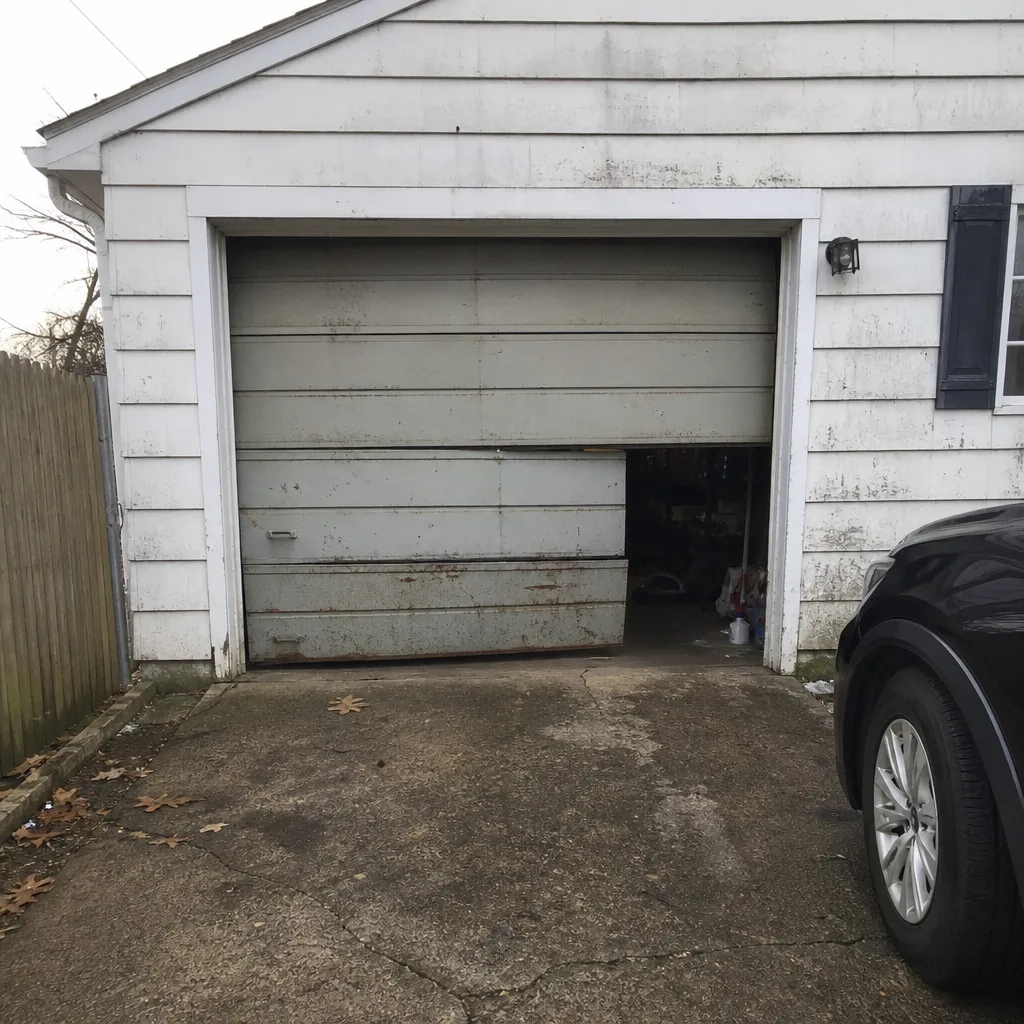 Before
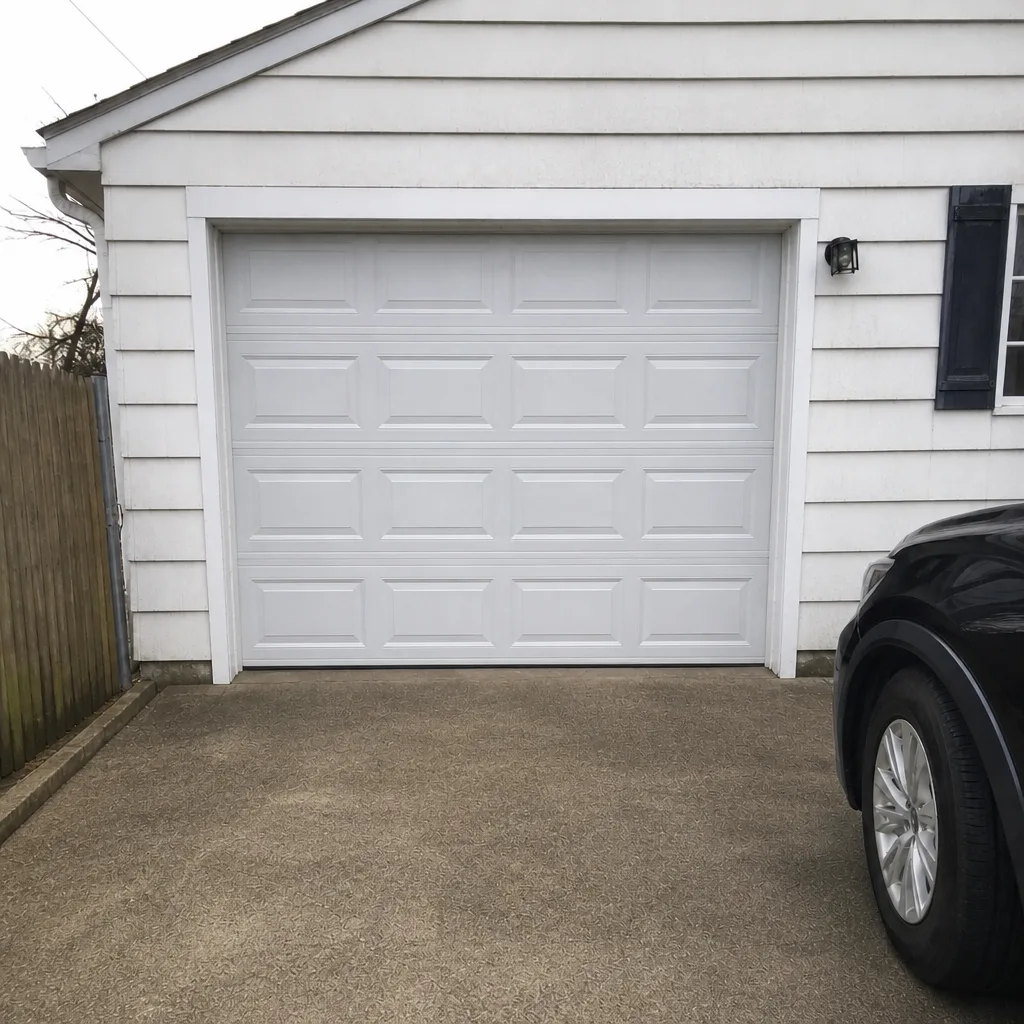 After
Frequently Asked Questions
It depends entirely on the task. Weatherstripping, sensor alignment, lubrication, and remote programming are genuinely cheaper to do yourself. Springs, cables, opener motor work, and track realignment are typically cheaper with a pro once you factor in the risk of a second repair from a botched first attempt. For a single torsion spring, expect roughly $180 to $340 in the Bridgeport market; a matched pair is usually replaced together and costs about twice that. Call (844) 647-0405 for an exact quote – estimates are free.
We don’t recommend it, and it’s not a “be careful” situation. A torsion spring holds enough stored energy to cause serious injury if it releases improperly, and the winding procedure is the part most DIY guides don’t fully explain. The gauge of the spring has to match the door’s weight, and the winding turns have to be counted, not guessed. This is one task where a professional is the right answer.
It depends on which component is failing. If the safety photo-eyes are misaligned, that’s usually a fifteen-minute alignment fix you can do yourself. If the photo-eyes are aligned and the opener still won’t reverse, the fault is in the opener’s logic or force setting, and that needs a professional. A door that won’t reverse is a safety problem, not a convenience one; we’d get it looked at quickly.
Three quick checks tell you: does the door balance when you lift it halfway by hand (with the opener disconnected), does it stay up on its own, and does the door come down in a smooth, even motion? If the door drifts or drops, or if you hear grinding or scraping, that’s a pro diagnosis. If it just squeaks or has a small daylight gap under the bottom seal, that’s usually maintenance you can do.
We work on LiftMaster, Chamberlain, Genie, Clopay, Amarr, Wayne Dalton, Craftsman, and Raynor systems, which covers the majority of garage doors in Bridgeport and the surrounding area. If your door is a less common brand, call us with the model number and we’ll tell you before we come out whether we can source the part. There’s no guesswork on a brand we haven’t seen before.
Not without your agreement. We quote the job before any work starts, and the written estimate is the price. If the technician finds something that wasn’t visible during the initial diagnosis – a hidden crack in a panel, a cable that fails during the spring repair – we stop and re-quote before proceeding. You’ll never get a bill that differs from the quoted price without a conversation first. Call (844) 647-0405 for a free estimate.
The Bottom Line
The DIY vs. professional question on a garage door comes down to one filter: does the task involve stored energy or the door’s weight? If yes, that’s a pro job, and the cost of a professional visit is the cheaper number in every plausible scenario. If no – weatherstripping, lubrication, sensor alignment, remote programming – a homeowner with the right tools and an afternoon can handle it and should. The gray zone, where most of the actual confusion lives, is around springs and openers, and the honest answer there is that your time is better spent learning which part failed than learning how to release a torsion spring. That’s a skill professionals train for, and it’s the reason we exist as a company in Bridgeport. Call (844) 647-0405 for a free estimate on anything you’re unsure about. We answer 24/7. Fast dispatch from 7am to 7pm, Sunday through Friday.
Ready to get your door working? Bridgeport Garage Door Repair Pros is the single call for repair, opener service, springs, and new installations – no matter which brand is on your door.
Written by the team at Bridgeport Garage Door Repair Pros.